
Textured tile is one of those shower floor choices that you either love or hate. Some folks really like the feeling of a hard reflexology foot massage while showering. But the folks who bought this Austin, TX, home with a stone pebble shower floor were not fans of this badly installed “feature.” They desperately wanted to retile their shower floor to fix the painful, ugly, and badly sloped origional shower tile floor without having to rip everyting out to start over from scratch.
This post describes how we made that happen. It’s part of my shower repair tips series. I also have a post that describes how to repalce a tile shower drain, too. Here’s the thing. If the waterproofing is done correctly, then you can properly retile a shower floor without having to redo the entire shower. And this shower floor definitely needed fixing!

In addition to being painful for tender feet, this pebble mosaic also wasn’t expertly laid out. A keen OCD eye will definitely spot the seams (which could have been eliminated with some advance planning). The whole shower floor also wasn’t completely evenly sloped to the drain. An aggressive 1/4-in per foot pitch is crucial for highly textured pebble mosaic surfaces like this. Any slow to drain dead spots will really encourage surface bacterial growth.
And finally, the original installer apparently struggled to make clean cuts in the mosaic pebble mats and “finished” with a terrible grouting job.


So this shower floor was painful to stand on, ugly to look at, and also impossible to keep clean. Very disappointing for the new homeowners who didn’t want to spend each day showering in sandals with their eyes closed.
The Challenge
Sometimes it is possible to very carefully remove and replace shower floor tile if you know beforehand exactly what kind of waterproofing was used below the surface. These folks didn’t know what kind of waterproofing had been used for this shower. Thankfully it is entirely fine to simply install new tile on top of the existing so long as you know that it isn’t leaking.
The Fix
The most conservative “do no harm” approach for re-doing an otherwise watertight tile shower floor is to simply retile right over top of the existing tile shower floor. Traditional shower construction already has a two inch or more concrete layer between the surface tile shower floor and the waterproofing layer underneath. Adding another layer of tile on top of the existing shower floor tile just adds a bit more thinset. This approach doesn’t risk damaging the waterproofing.

Remember that tile and grout are not waterproof. Therefore, tiling on top of an existing tile layer won’t create a moisture sandwich. You can fix an improperly sloped tile shower floor by simply tiling it again with a proper slope.
The Shower Floor Retile Plan
Here is how we retiled the shower floor on this job without having to rip out everything for a complete redo:
- Reslope the existing pebbled surface using precisely mixed thinset
- Retile with a nice retro art deco mosaic pattern
- Raise the drain grate and regrout the shower floor and perimeter
The overall master bath decor was midcentury -style classic black and white, so the homeowners wanted their new shower floor to fit this same general aesthetic.

The hexagonal mosaic floor tile they settled on was a great choice. Not only a matte finish for anti-slip, but also just 1/8-in thick for minimal height gain.
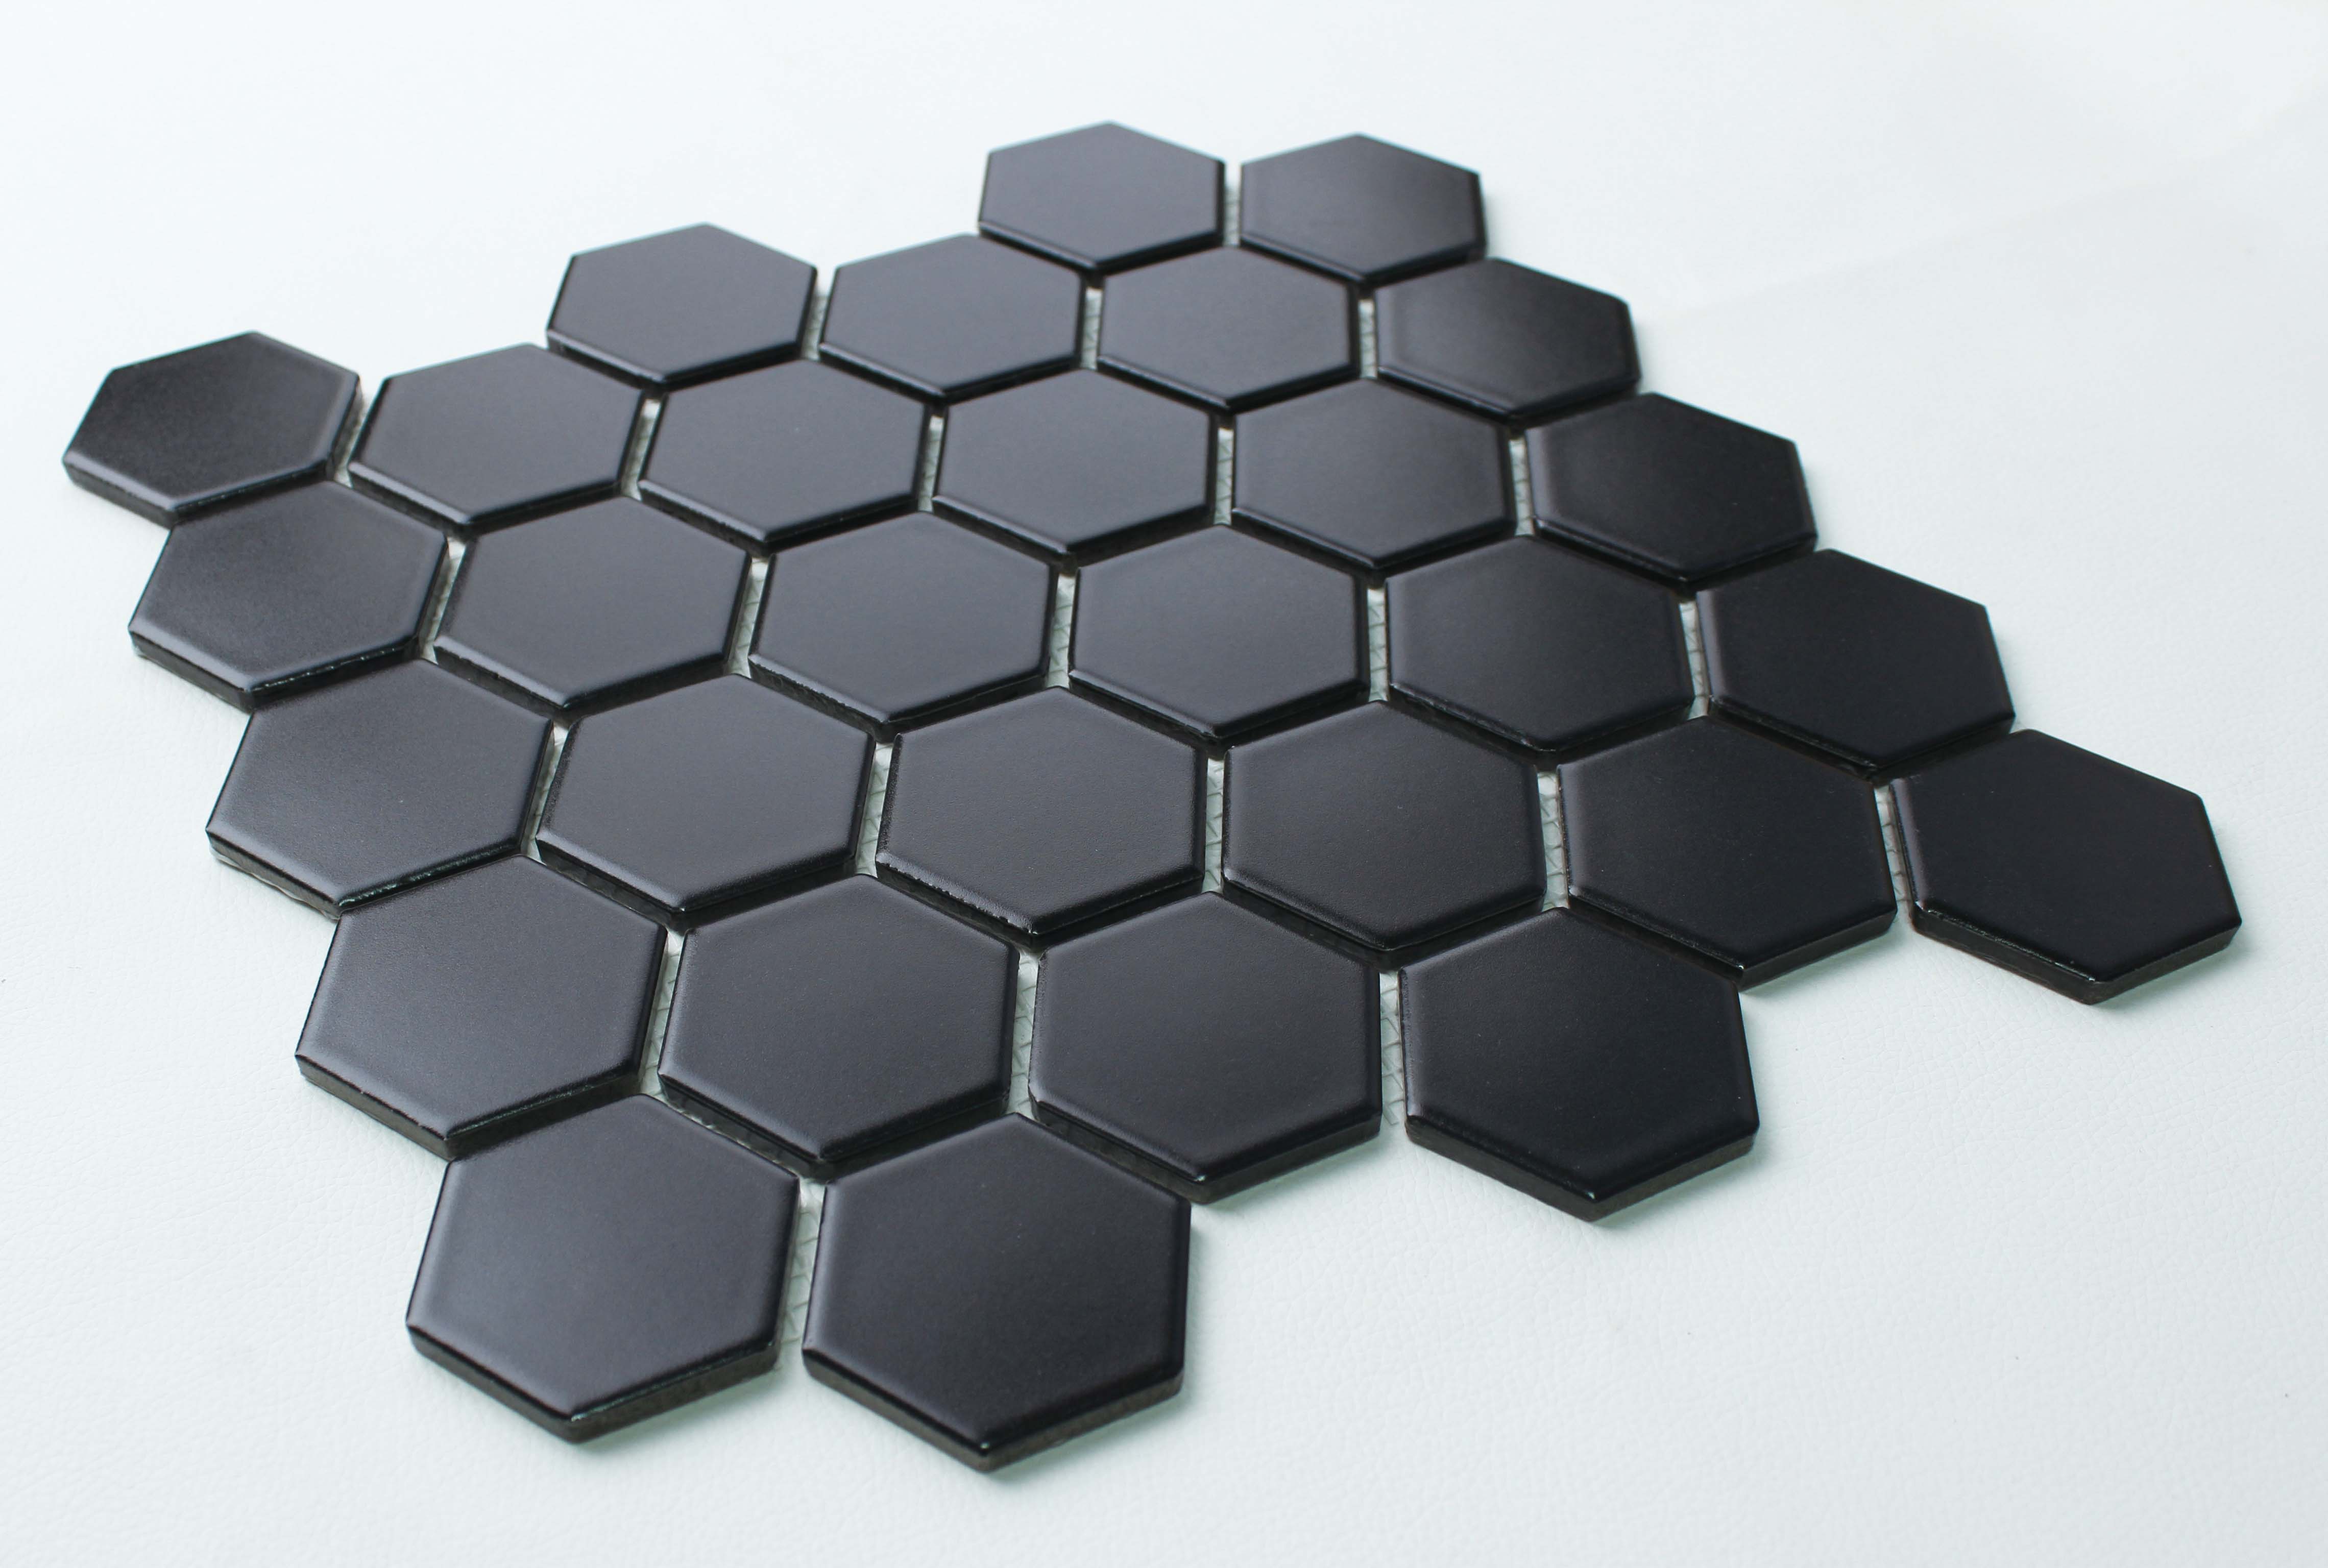

The nice thing about classic black and white porcelain tile is its both inexpensive and easy to source.
STEP ONE: Reslope the pebbled surface
This first step to retile a shower floor is the trickiest, and probably not something that you’d want to attempt without some previous practice. Sloping a shower floor from scratch is already a finicky process. Using a skimcoat layer of thinset to achieve the same finish takes finesse. But if you do want to give it a go yourself (or just want to make sure that your contractor is working smartly), then here are some tips.
FIRST, use a quality modified thinset mix. You want the reslope layer to be thin as possible, and modified thinset is less grainy and therefore easier to smooth out than basic unmodified thinset. You’ll also need to use less water than normal for your reslope mix, since you will need the thinset to be thick enough to actually hold a slope. The polymer additives in a quality highly modified thinset will allow you to make a stiff mix that will still set up and cure to a firm finish.
SECOND, use masking tape around the floor perimeter for a guide. The whole point of redoing a shower floor is to make the new floor perfectly sloped. So do some preplanning to make the job easier, especially for getting the corners just right! Also, don’t be like this previous installer who didn’t even bother to trim away mosaic mat nylon strings before grouting. What a dope.


THIRD, use a wide blade drywall knife for spreading and working your stiff thinset mix. You’re basically doing a skimcoat, just like smoothing a plaster wall. So, use your plastering skills and tools. Work in sections and take your time.


FINALLY, don’t try to do all the resloping in one day. Even a stiff thinset mix will slump a bit and also contract some when cured. It’s also a lot harder to slope than drypack concrete in the first place, so don’t try for perfection on the first day.
Instead, just get the first application good ’nuff for an effective start. Then you can let it dry and cure overnight and make it perfect the next day. Simply use a bubble level to identify any high spots and shave those down using a 4-in drywall knife as a scraper. Then identify and mark any low spots, and fill those in with a bit more thinset.


STEP TWO: Retile
A mosaic tile pattern is sometimes easy to lay out and install without any thought. This was not one of those times.


The homeowners wanted their new shower floor to match the same art deco theme as the adjacent bathroom floor. They also wanted some custom design flair. Challenge accepted!
STEP THREE: Regrout and raise the drain grate!
The grouting step was a little finicky as well. The homeowners chose a light grey grout color to both make the white hex mosaic tile pop and also make the whole shower easier to keep clean looking. The problem with grey grout is that it’s actually one of the most difficult grout shades to install with a completely uniform final shade. Grout mix can dry quickly in the bucket, and many grey grout mixes in particular are very sensitive to varying moisture levels while curing. This is why you want to grout a mosaic surface quickly with an easy to use presealed dense grout mix for best results.
Raising the drain grate was easy. The original shower installers had used the simplest builder grade round screw-in two piece shower drain assembly available. Because these cheap drains are so common (and so commonly installed to an improper depth), there are lots of shim kits available for raising a round drain grate. Easy peasy.
The Finish!
Here’s what the final shower floor retile looked like. No longer a painful, sloppy, slow draining pebble mess. These Austin, TX, homeowners now have a smooth and perfectly sloped art deco -style shower floor.

Remember that the waterproofing layer in a correctly engineered tile shower install is below the floor tile. So, properly sloping a shower floor will actually reduce the amount of water that’s absorbed by the deck mud layer during showers. Think about it. The more quickly water goes down the drain, the less water is absorbed by the floor.
I did this particular shower floor fix two years ago, way back in September 2019. They got back in touch with me a couple months ago for a different tile project, so I was able to catch up on how their shower floor retile has held up. Their shower was still performing beautifully. Re-tiling the floor made their shower not only easy on the feet but also much quicker to dry between uses and easier to clean than before. They’re still super happy with the results even years later.
Yay success!