
This post describes yet another ‘custom’ tile shower install fail. It was almost one of the most strangely bad shower construction installs I’ve seen. While I’d previously encountered shower installs done with no waterproofing at all and the most bizzare ‘waterproofing’ imaginable, this job was another first. How do you use all the (mostly) right ingredients to construct a shower that is completely wrong? Read on to find out!
If you’d like to just skip ahead to the fix description, then click here for Stylish Shower Replacement, Part DEUX!
But if you’d like all the gory (and that’s literal) background details first, then read this post beforehand.
The Surface
Some folks bought a very expensive home, and then within a year discovered that there was something obviously wrong with the master bath shower beyond just its surface appearance.
Speaking of surface, there were some finish material and workmanship clues indicating that the clients’ shower was maybe not built by conscientious folks. First, the shower wall tile matched the floor tile used in other parts of the house:


While using extra ceramic and slate floor tile to finish off a shower install isn’t necessarily a bad move, it can be a clue that the original homebuilder was motivated to squeeze every penny from the build budget overhead. Especially when the ceramic shower tile has a bunch of unfinished exposed edges because there was no bullnose trim used. And, especially when these unfinished exposed edges are left looking especially “rustic” because the installers apparently didn’t use a quality wet saw for exposed cuts:


Even fantastic-looking surface tile work can hide significant structural waterproofing problems underneath. So, the surface tile fit and finish in a shower install isn’t always a clear clue that there may be problems lurking below. But, if the final tile install work is pretty clearly not great, then that’s very often a bad leading indicator.
If a tile shower installer doesn’t do a great job on the things you do see, then what are the chances they’ve done a great job on the things you don’t see?
The Challenge
In a nutshell, the shower was leaking water into the wall framing.
Visible Symptom: Water damage in the baseboard trim along the shower threshold.


Underlying Cause: Improper or compromised shower base waterproofing.
Possible Solution: Removing and re-installing the shower floor and base up to the first course of shower wall tile.
Leaky showers are unfortunately a pretty common problem even for quality-looking custom tile installs. Installers can often save a lot of time by skimping on waterproofing and other structurally important steps. The result is a shower that might look good on the surface but that will cause mold and wood-rot problems after just a few years of use (after the original installer is long gone).
Sometimes, it’s possible to fix even a completely non-waterproofed shower without ripping apart the whole thing and starting over completely. Unfortunately, this wasn’t one of those times.
The Demo Reveal
Looking behind the shower handle faceplate showed that the shower walls had HardieBacker high-density compressed concrete backerboard underneath the surface tile. In theory, this would make it possible to demo and completely rebuild the shower base without having to also rip out all of the wall tile. It is usually possible to carefully peel tiles off of HardieBacker without much damage to the substrate. So, this makes it possible to remove and replace just the first course of wall tile to create an effective continuous waterproofing layer for a new shower base install.
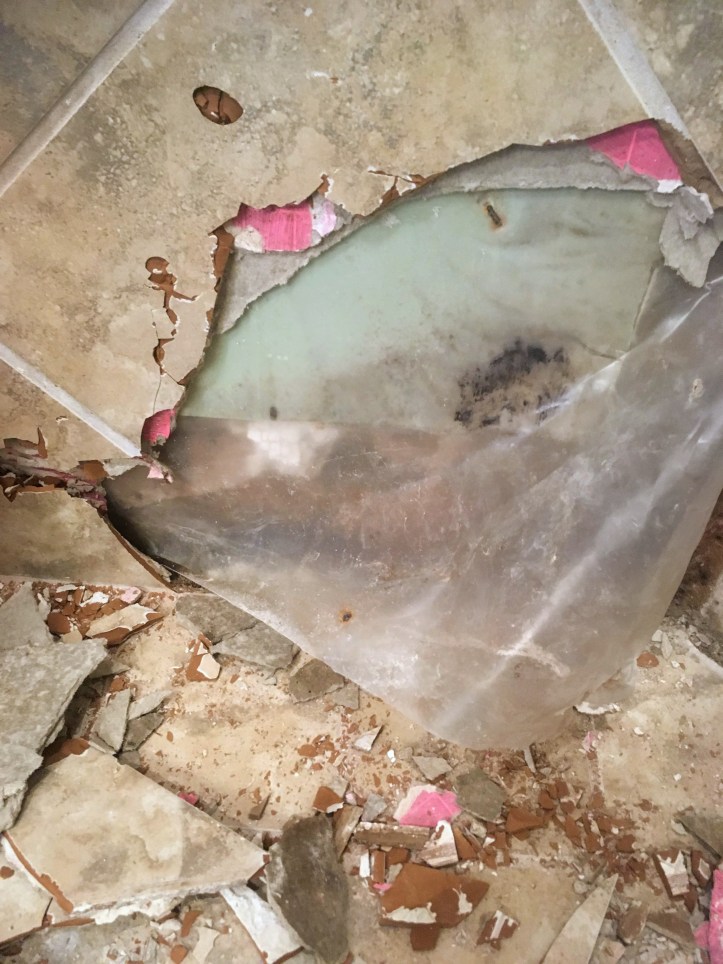
Unfortunately in this case, the original shower tile installers mostly used the right materials but in a completely WRONG combination. Although they had used concrete backerboard for the shower walls (good!), they had installed this backerboard on top drywall (not good), which was in turn set inside a fiberglass shower pan (REALLY not good). The result was a moist mildew-y mess underneath the tile:
Even better, the original tile installers painted the concrete backerboard with RedGard waterproofing (good) but applied it in a haphazard manner (NOT good). And, although they did put a layer of plastic sheeting between the concrete backerboard and the drywall underneath, they then installed the concrete backerboard sheets with regular uncoated bright steel drywall nails (uncoated nails!) that gave moisture a straight wicking path to wick into every part of the wall underlayment and framing.
Here’s what the result looked like:
And here’s why. Since grout and tile aren’t actually waterproof, some moisture will wick behind the tile each time a shower is used. And since the RedGard waterproofing for this particular shower was haphazardly applied, moisture moved into the concrete backerboard each time the shower was used.
And, since large patches of the concrete backerboard was kinda effectively coated with RedGard, the moisture absorbed by the concrete backerboard couldn’t effectively evaporate back out through the grout and tile layer between showers. Instead, most of the moisture remained trapped in the concrete backerboard sandwiched between RedGard and plastic. This moisture then wicked through a bazillion or so nailholes right into the underlying drywall.
This is why not completely waterproofing shower walls is often worse than not bothering with wall waterproofing at all. You never never ever want to offer moisture a way in without also providing a clear path out.
But there was more! Since the drywall that was for some reason installed underneath the concrete backerboard had been put on top (!) of the fiberglass shower pan that ran a good 20-in up the shower walls to cover an in-shower bench seat, moisture was also wicking up from the shower floor directly into this drywall layer.
The Result
The conventional approach to fixing any leaky shower problem is to rip everything to the studs and start over. I’d done several previous shower fix projects by taking the less invasive (and less expensive) approach of just replacing the shower base.

But in this case, replacing just the shower base and first course of tile wouldn’t work. Mainly because the previous shower install yahoos had put a sheet of plastic in the worst place possible and then riddled the whole thing with a bazillion or so nails, the whole shower needed to be nuked. Way to go.
The upside? The clients at least got to choose their own materials and design for a brand-new shower install. To see how that turned out, check out this post: Stylish Shower Replacement, Part DEUX!